product comparison
Quantity: {[ basketItem.quantity ]}
{[ formatPrice(basketItem.price * basketItem.quantity, basket.currency) ]} ({[ formatPrice(basketItem.price, basket.currency) ]})
Spring cleaning in the car - tips for car interior cleaning and car care
A car should not only be cleaned regularly from the outside, but also from the inside. In the following, we will show you what you need to consider when cleaning the interior and the subsequent care. We also give you helpful tips on how to remove stains and odours from your car. This way the value of the car is better preserved thanks to regular car interior cleaning. After a cold, damp winter, an all-round cleaning also increases the feeling of well-being in your own vehicle! You also reduce the risk of infection by bacteria and mould. Especially for allergy sufferers, it makes sense to carry out regular interior cleaning to minimise exposure to pollen and dust in the car and thus increase driving safety.
Preparations for interior cleaning
Before getting started with the car interior cleaning, it is advisable to do a few things:
- Dispose of garbage and remove floor mats from the car
Before you start, it is recommended to first remove all "moving" parts from the interior. This includes rubbish as well as small change or other small parts. These could otherwise be swallowed by the vacuum cleaner. The floor mats should also be removed from the car. - Provide all necessary materials
- Vacuum cleaner
- Spray bottle filled with water
- Damp cloth or rag, and a microfibre cloth
- toothbrush and cotton swabs or a brush, swollen toothpicks
- soft bristled brush
- Various car cleaning products
- Leather- or upholstery cleaning agents
- Window cleaning agents

Which measures belong to a car interior cleaning?
As soon as the preparations are completed, the actual cleaning can begin. If you want to do it right, you should consider the following measures as part of an extensive interior cleaning:
- Floormat cleaning
- Clean cockpit and fittings
- Clean upholstery
- Remove odours (ozone treatment)
- Clean windows
- Maintaining door seals
1. Vacuum the floor mats and interior
After you have knocked off the floor mats or cleaned them in the mat cleaner, vacuum the vehicle thoroughly. Before vacuuming, you can set the ventilation to full speed. This will blow the dust out of the ventilation system and can be removed as soon as it has settled. Do not forget to vacuum on and between the seats as well as along the seams and in the gap between the backrest and seat. The inner floor should also be vacuumed with a brush attachment, as this will remove more dirt. Here's a quick tip: at petrol stations or self-service car washes, vacuum cleaners are usually more powerful than household vacuum cleaners.
If you clean the floor mats with water, you should only wet the dirty side. Then let the mats dry well before you put them back in the car. This will prevent moisture in the car and thus also a stove for mould. In case of grease stains or stubborn dirt, we recommend treating the floor mats and the car carpet with special textile cleaners from the car cleaning product category.
2. Clean cockpit and instrument surfaces
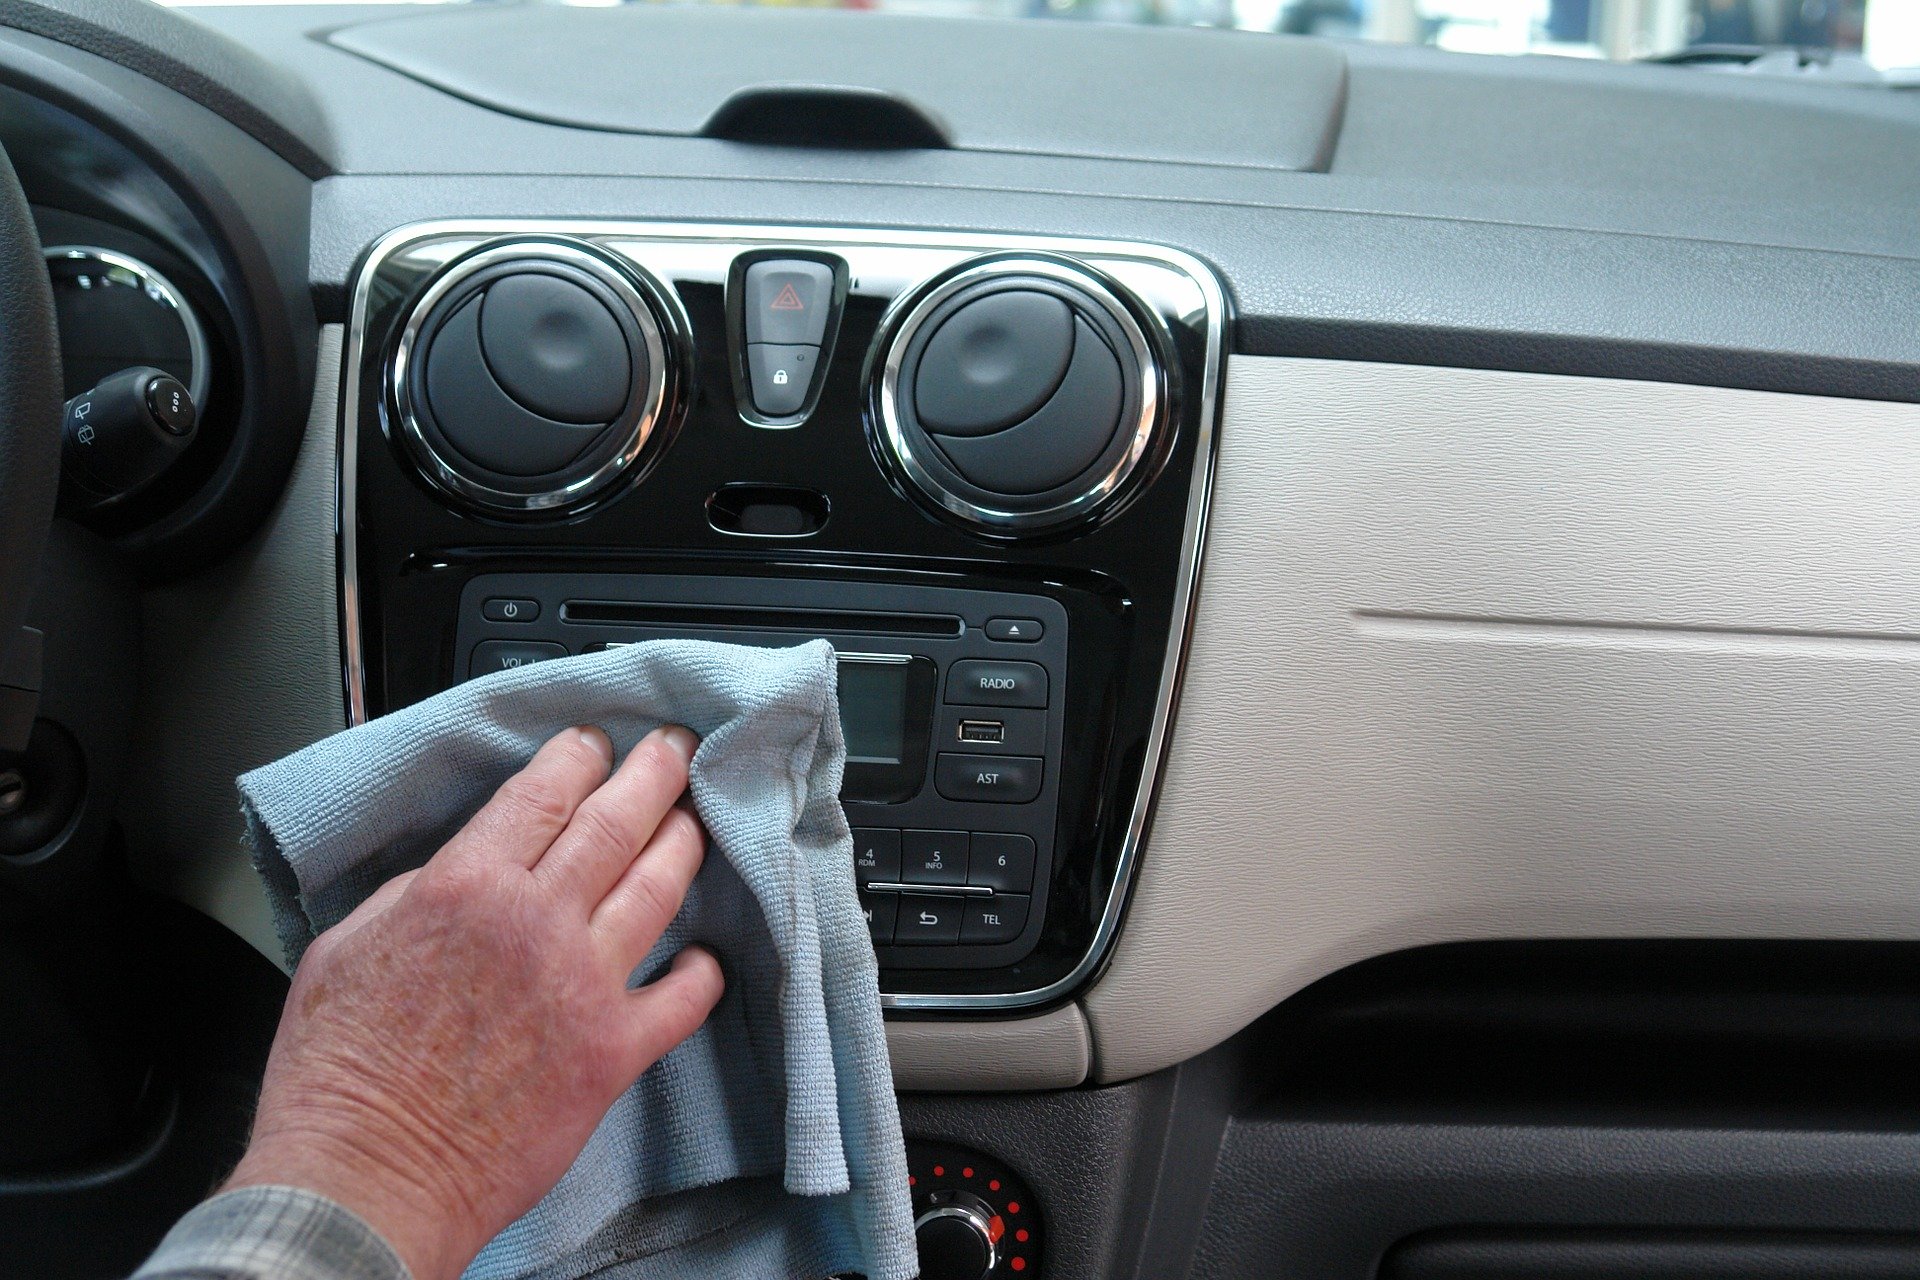
In modern vehicles there are many electrical switches. These trap a lot of dust and are also often touched. This is where the damp cloth comes in, with which you can wipe all large surfaces. For larger stains it is recommended to use a cockpit cleaner. With a toothbrush you can get between the individual controls and buttons on the dashboard. In smaller joints, even slightly swollen toothpicks work very well. Then you can wipe off the dust with a microfibre cloth. Also the ventilation slots should not be forgotten when cleaning the interior. These can be cleaned with a brush or a moistened cotton swab.

3. Cleaning the upholstery and leather seats

There are suitable upholstery cleaners for upholstered seats. It is best to perform circular movements. Then dry the upholstery again with a dry towel. Here too, you should make sure that not too much moisture remains in the seats. Therefore ventilate the vehicle well at the end.
A soft brush can make it easier to clean the inside of the car to brush out the dirt and clean the seams better. Grease stains or other coarse dirt should be removed with a special stain remover. For cloth seats, it can also be worthwhile to clean them after cleaning with an impregnation spray. Due to the impregnation, liquids do not get into the upholstery as quickly and dirt can be removed more easily.
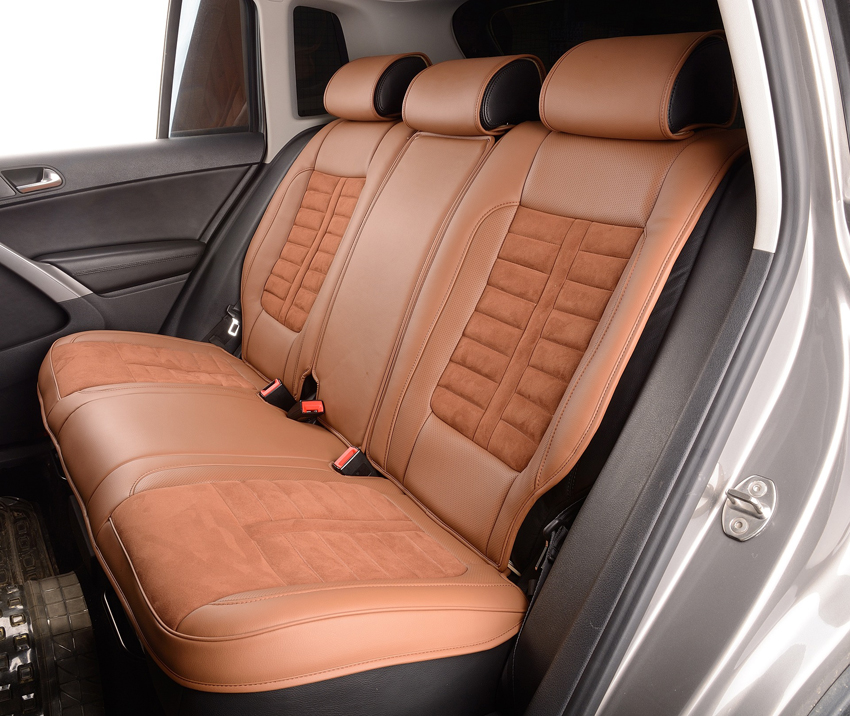
It's a little different when you have leather seats. The leather care for interior cleaning is a little more demanding. The material is often neglected because it seems to be robust. To keep it that way and to keep the interior looking high quality for a long time, leather needs to be cared for. Before buying leather cleaning agents and leather care products, you should pay attention to what leather the seats are made of. Car cleaning products for leather are available for smooth leather, imitation leather (Alcantara) or suede. The cleaning agent for leather is spread on the seat and then carefully and evenly rubbed into the upholstery with a soft brush. After the seams and crevices have also been cleaned, any residue should be removed with a microfibre cloth. On ventilated seats, on the other hand, it is better to use a cleaning foam, otherwise the pores will clog.
Especially after the car interior cleaning the leather has to be cared for, as oils and fats have also been removed. To avoid brittle leather, the leather care is spread sparingly on the car seats with a microfibre cloth. After about half an hour the leather can be wiped dry with a clean cloth. For a long life, it is recommended to carry out the leather care every 3-4 months.
4. Remove odours from the interior
A car interior cleaning removes most odours and, if used regularly, keeps them away permanently. Regular airing generally helps to reduce musty odours. In the long run, however, unpleasant odours can become established. Stronger remedies than just an open window are necessary. Here a strong odour remover works best.
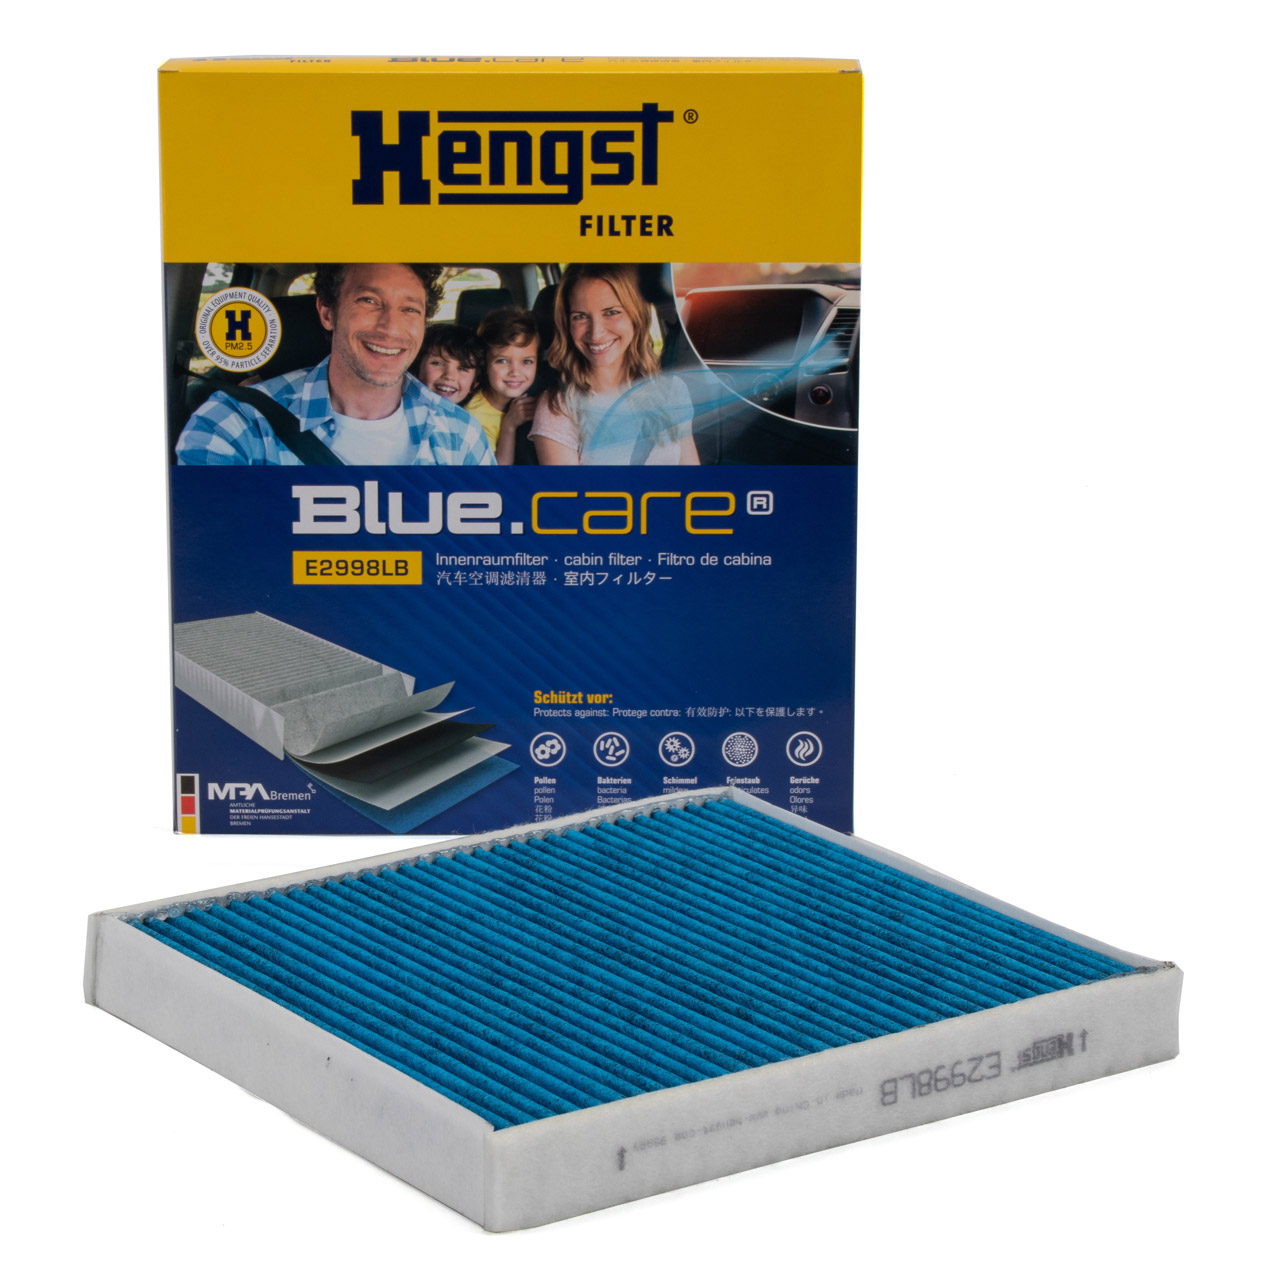
A musty smell can also be produced in the car when the air conditioning is switched on. It is also regularly worth using an air conditioner cleaner as part of an interior cleaning. This not only removes unpleasant odours, but also cleans the entire system and removes fungi and bacteria. Care should also be taken to replace the cabin filter according to the maintenance interval. The BlueCare filters from Hengst are particularly suitable for allergy sufferers.
Many workshops offer a so-called ozone treatment. The ozone treatment works by the introduced oxygen atoms neutralising the organic compounds responsible for the odours. It also kills germs, bacteria, fungi and spores. However, an ozone treatment helps at most with natural odours, not with chemical causes. Therefore it is of no use in smoking cars, for example. In addition, the same result can generally be achieved with commercially available cleaners with less time and expense. Depending on the intensity of the odours, an ozone treatment can take between 6 and 24 hours, but the car interior must still be cleaned beforehand.


5. Cleaning car windows from the inside
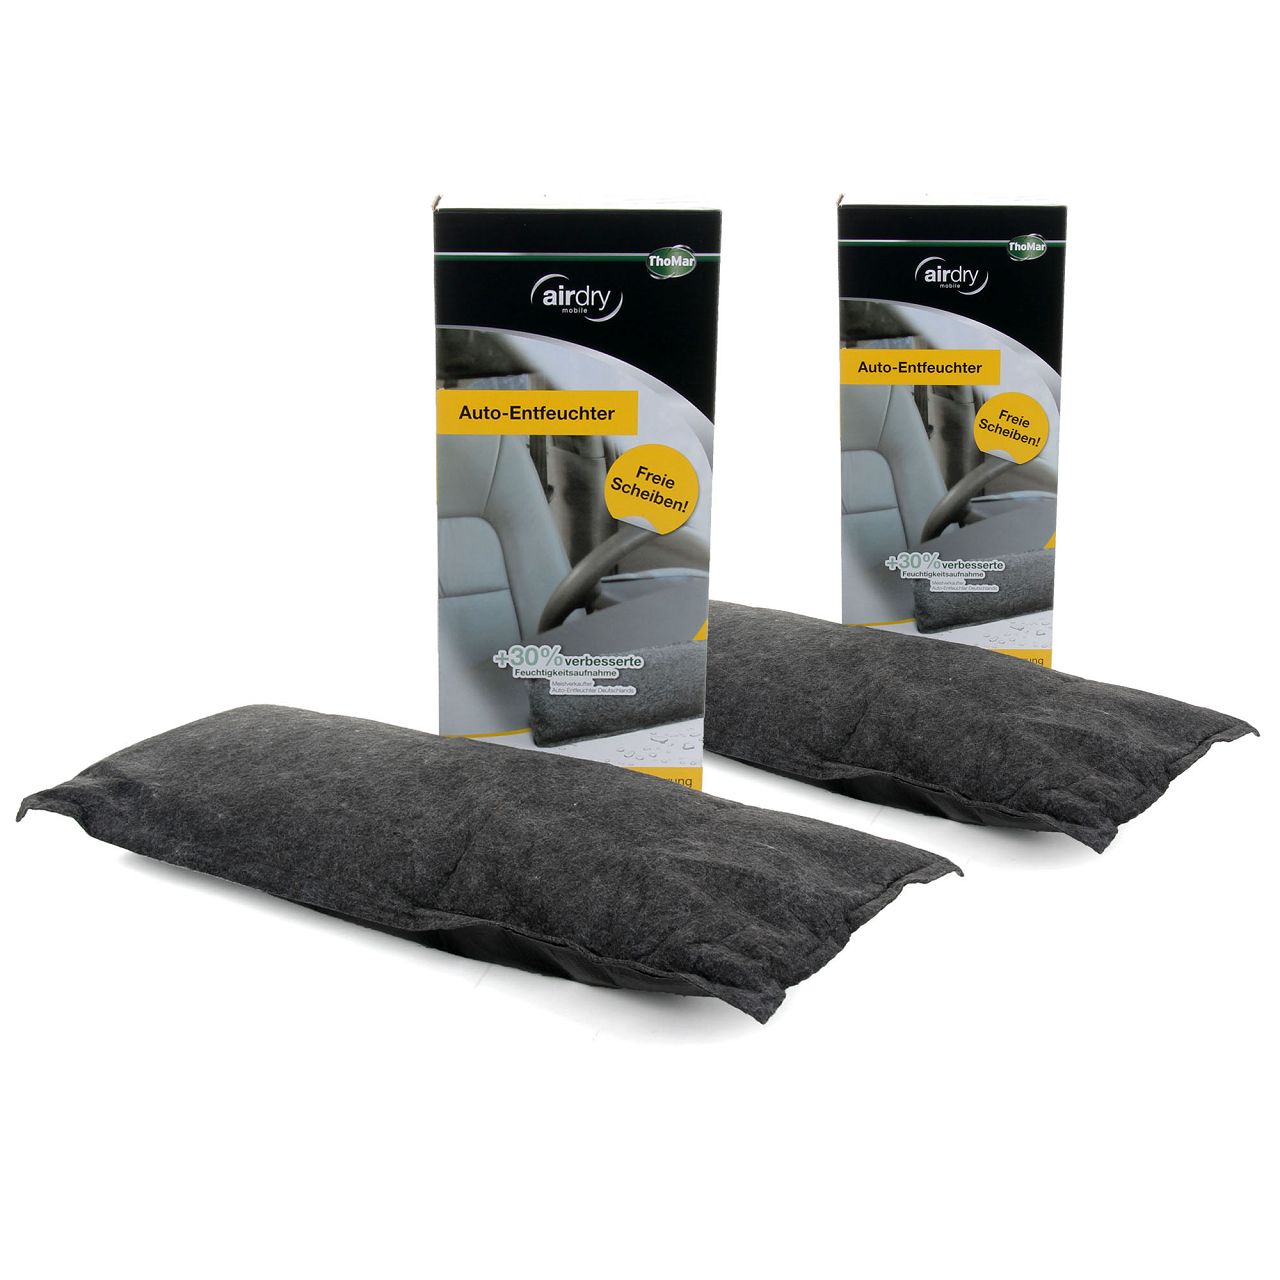
A clear view ensures safety. However, the windows are often forgotten during interior cleaning. Here a simple cloth and a glass cleaner help. Spray the cleaner first onto the cloth and then wipe the windscreen and side windows from the inside. Then wipe dry with a clean microfibre cloth. It is best to place the car in the shade during windscreen cleaning, because sunlight causes streaks. For the inside of the windows it also helps to always have a cleaning sponge in the car. If the windows are fogged up, the moisture can be wiped off quickly. If there are problems with humidity in the car, we can also recommend using car dehumidifier.
6. Do not forget door seals and rubbers!
The rubbers between the car doors provide the sealing. They prevent the penetration of moisture, dirt and wind. It is therefore advisable to regularly maintain the seals with a rubber care product when cleaning the car interior. Note that these must be dry before maintenance. This is especially important after the car wash. It is not very time-consuming, but can be very helpful in summer and winter. A rubber care product prevents the rubbers from drying out, thus ensuring windproof doors and a dry interior. In winter, a lubricant prevents freezing on the door frame. The durability of the seals can be significantly extended with care.
The interior cleaning is certainly not a time-consuming process, but it does increase the feeling of well-being in your own vehicle. It is worthwhile to regularly spend a little time in your own car. If you have any questions about our wide range of Car cleaning agents and care products our customer service is at your disposal.
To the car cleaners and care products


